Wine Cube Build

A wine cube or wine storage box is a great way to get bottles off the countertop or bar and have them stored in a convenient way. It also looks great and adds to any home decor. The following will describe the steps taken to build it like the one pictured above.
Step 2 is to start sanding!! Use 120 grit, get it nice and smooth, and repeat on all 3 remaining boards. Usually takes about 5-10 mins total.
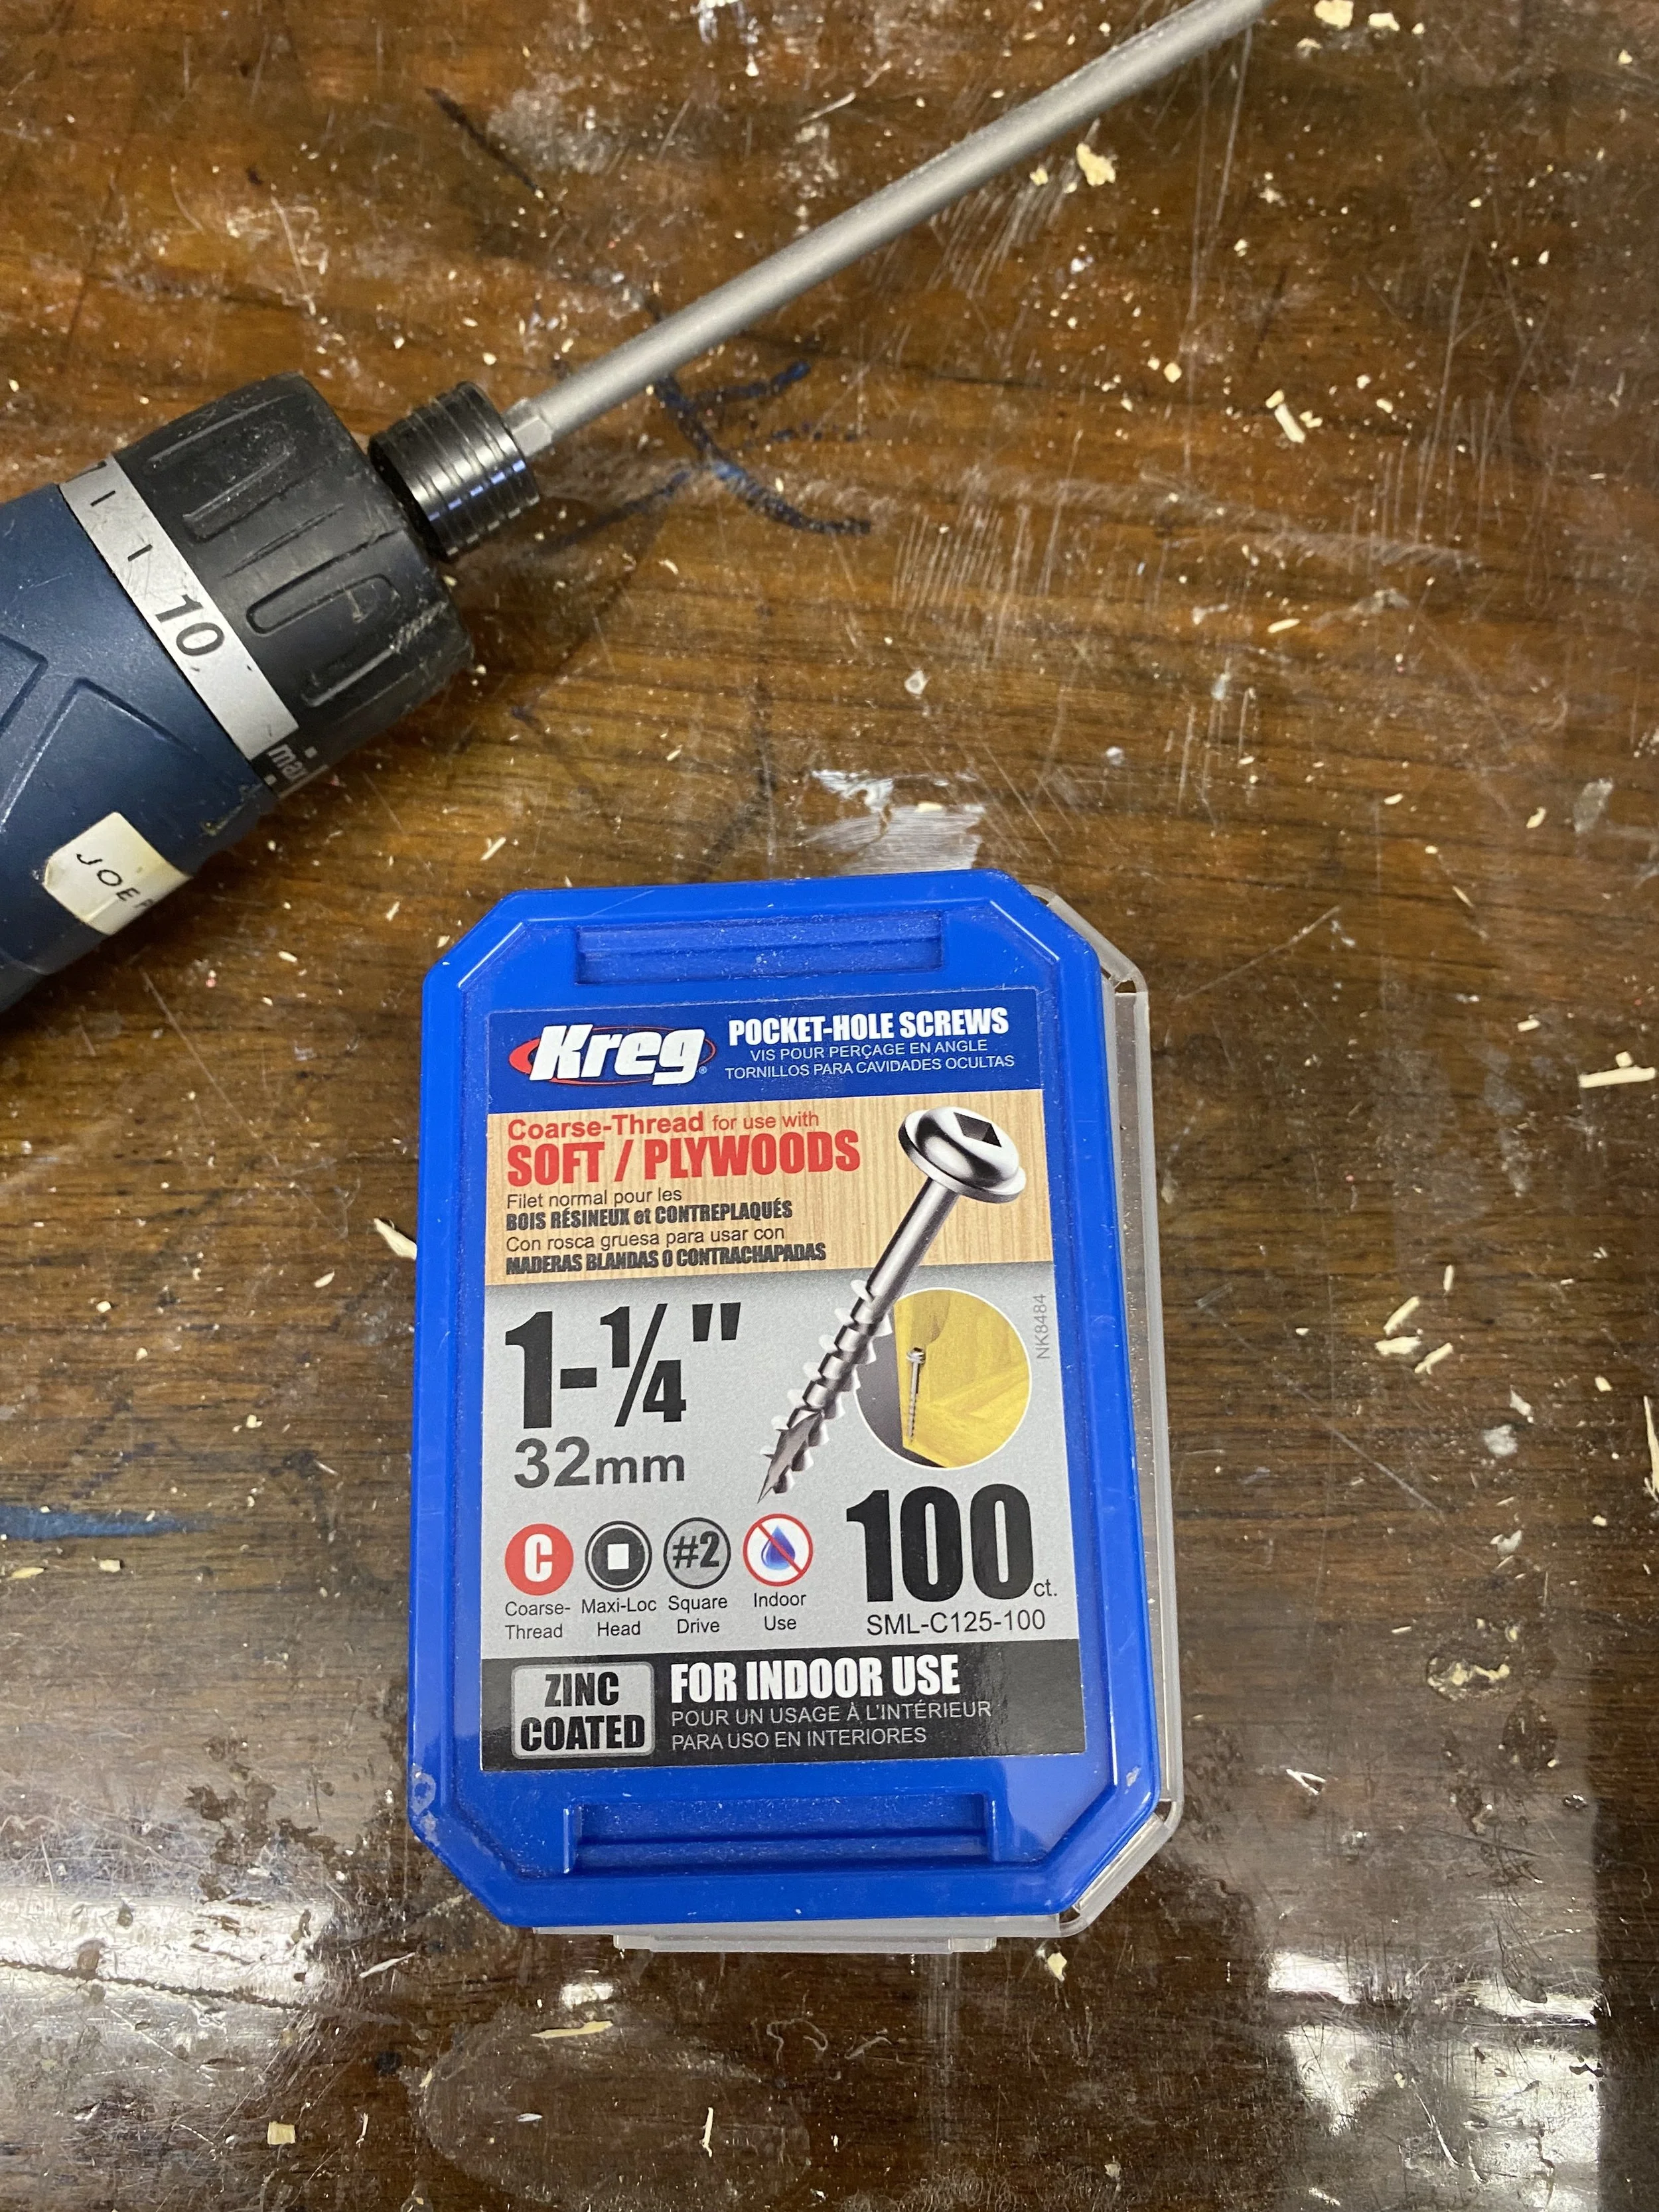
Since this is ¾” thick pine, you need to select the right screw. In this case it’s the Kreg 1-¼” coarse screw which is ideal for soft woods such as pine.
Glue the end with the pocket hole, then drive the screw into the 19” rail using the Kreg square drive bit. I also like to use the Bosch 12v drill driver to drive home each screw without stripping each one.
Once the sides are screwed together, it’s time to add the 11.5” side trim and bottom rails. I pre-drill using a ⅛” drill bit, glue, then drive those side and bottom rails in with 1-¼” deck screws.
One of the last steps is to get a 1x8x4’ pine board and determine the dimension for the “X” that will hold the bottles. In my case, it was approximately 24” but you should cut long and trim to fit. I then determine the center of each board and cut a ¾” wide slot with my jig so the “X” can fit together.
Last step is to take a 2”x6” pine scrap for the handles. Screw and glue that into place and you’re now ready for staining.
I like to use water-based interior stain and in this case the customer decided on American Walnut.
Let me know if you have any questions or comments and appreciate the feedback.